How to waterproof a basement
Start outside. A startling share of wet basements are fixed with a ladder and an afternoon, and no product at all.

Basement waterproofing fails most often not because the products are bad but because they were applied in the wrong order, or to the wrong problem. This is the sequence that works, cheapest and most effective first.
Step 1: everything outside
- Clear the gutters. An overflowing gutter delivers roof water straight to the foundation at exactly the point you least want it.
- Extend the downspouts at least six feet from the wall, further if the ground is flat. This is the single highest-value action on this page.
- Fix the grade. The soil should fall away from the house — roughly six inches over the first ten feet. Soil settles against foundations over the years and quietly reverses.
- Pull mulch and beds back from the wall. They hold water against the masonry.
- Cover and drain window wells. See window well covers.
Do this first, then wait for a storm and look again. A meaningful number of wet basements are finished at this step, for the cost of two downspout extensions.
Step 2: diagnose what is left
| What you see | What it is | Next step |
|---|---|---|
| Damp patches, musty smell | Vapor through porous masonry | Step 4, coating |
| A wet line down the wall | A crack | Step 3, repair it |
| Water from a round hole | A form tie rod | Step 3, hydraulic cement |
| Water along the wall-floor joint | Hydrostatic pressure | Step 5, drainage |
| Nothing, after fixing the outside | It was the gutters | Stop here |
Step 3: stop active leaks and repair cracks
Hydraulic cement into holes, tie-rod penetrations and the wall-floor joint. Polyurethane injection for weeping cracks. Full method in how to seal basement wall cracks. Let everything cure before moving on.
Step 4: seal the walls
Strip to bare masonry, remove efflorescence, then two brushed coats of masonry waterproofer. This is a weekend and most of it is preparation. Details in waterproofing paint.
DRYLOK Extreme Masonry Waterproofer
A masonry waterproofer for bare, prepared walls once the water sources are handled.

#ad we earn a commission · Amazon shows the current price
| Type | Latex masonry waterproofer for interior and exterior masonry |
|---|---|
| Hydrostatic resistance | 15 PSI, tested to ASTM D-7088 |
| Coverage | 75 sq ft/gal first coat, 75 to 100 sq ft/gal second coat |
| Film build | 13 to 21 mils wet per coat; 17 mils dry minimum over two coats |
| Mildew | Biocide in the film to resist mildew growth on the dry paint |
| Shelf life | 5 years unopened |
| Warranty | 15 years, fully transferable, per UGL |
Fourth in the sequence, not first. A coating applied before the sources are fixed is wasted effort.
What it gets right
- Effective on porous masonry
- Warranted against stated pressure
- A weekend job
Where it falls short
- Bare surfaces only
- Preparation is most of the work
Specifications from DRYLOK Extreme product data sheet, DRYLOK Extreme product page.
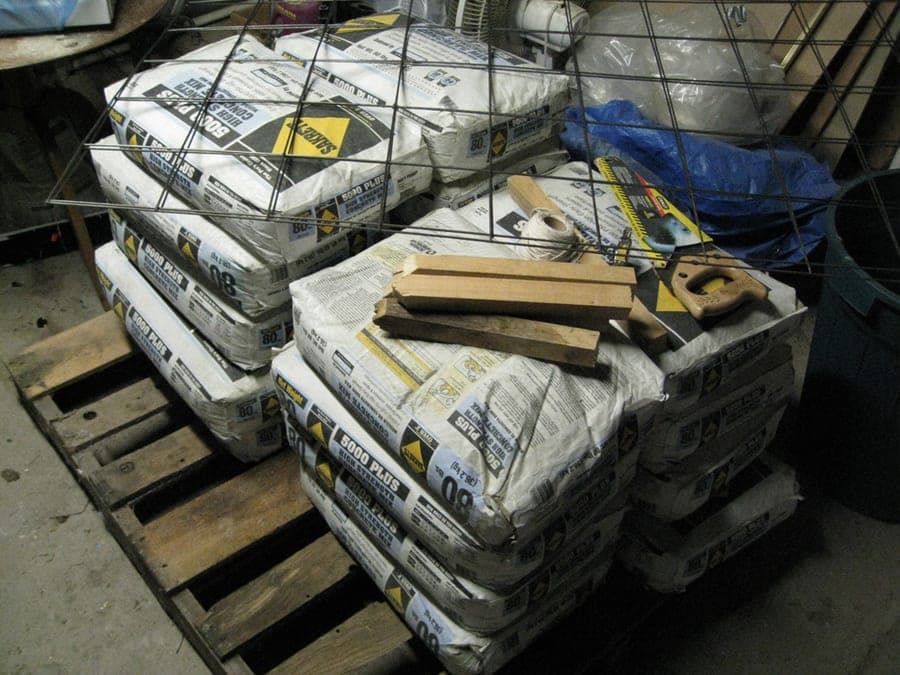
DRYLOK Fast Plug hydraulic cement
Hydraulic cement for holes, tie rods and joints, before any coating goes near the wall.
#ad we earn a commission · Amazon shows the current price
| Type | Quick-setting hydraulic cement |
|---|---|
| Set time | 3 to 5 minutes |
| Works under water | Patches holes where water is actively flowing through them |
| Composition | Sand and cement, 100% solids |
| Coverage | 16 cu in per lb |
Everything after this step assumes the wall is no longer passing liquid water at a discrete point.
What it gets right
- Works with water running
- Cheap
- Fast
Where it falls short
- Rigid
- Minutes of working time
Specifications from DRYLOK Fast Plug product data.
Step 5: manage the water that is still arriving
If water is still coming in at the wall-floor joint after all of the above, you have hydrostatic pressure and no coating will fix it. The two real answers are an interior drain tile loop to a sump, or exterior excavation with a drainage membrane. Both are contractor-scale work; the comparison is in interior vs exterior waterproofing.
Step 6: manage what remains
- A working sump pump, sized properly, with a backup if the basement is finished.
- A sealed pit lid, which removes a continuous evaporation source.
- A dehumidifier set to 50-55% relative humidity.
- Water alarms on the floor, because every one of the above can fail quietly.
Questions people ask
What is the first step in waterproofing a basement?
Gutters, downspout extensions and grading. They cost almost nothing, they address the largest single source of water at most foundations, and they are frequently the whole fix.
Can I waterproof a basement myself?
Most of the sequence — exterior drainage corrections, crack injection, hydraulic cement, wall coating — is realistic DIY. Interior drain tile and exterior excavation are not.
Does interior waterproofing work?
Coatings work on dampness and seepage through porous masonry. They do not work against hydrostatic pressure, which needs drainage. Knowing which you have is the whole skill.
How long does basement waterproofing last?
Exterior drainage corrections last as long as they stay maintained. A correctly applied interior coating lasts for years on a properly prepared surface. Neither survives an unaddressed water source.
Sources
Read next

Interior vs exterior basement waterproofing
One manages water that has reached the wall. The other stops it arriving. They solve different problems and the sales pitch rarely says so.

The best basement waterproofing products, by problem
Almost every product in this aisle works. Almost every disappointment comes from using one on a problem it was never designed for.

How to seal basement wall cracks
Surface patching a crack is a decorative exercise. Water pressure gets behind it within a season. Injection is the repair.

The best basement waterproofing paint
These products work on exactly one problem. Used on the right wall they are excellent; used on the wrong one they peel off within a year.

Basement waterproofing cost
The range runs from two downspout extensions to a full excavation. Understanding which end you are at is worth more than any national average.