How to install a sump pump
A like-for-like replacement in an existing pit is a two-hour job. Cutting a new pit into a slab is not, and this page is honest about which is which.

This guide covers replacing a pump in an existing pit, which is a realistic job for a competent DIYer with a couple of hours. Cutting a new pit into a slab is a different proposition — jackhammer, drain tile connection, new discharge penetration — and is usually a contractor job.
What you need
- The replacement pump, sized to your lift — see what size sump pump do I need
- A new check valve, and two rubber couplings or unions
- A hacksaw or PVC cutter, a screwdriver, adjustable pliers, PTFE tape
- A bucket, old towels, and gloves
- A length of PVC if the existing pipe needs modifying
The steps
- Unplug the pumpAt the outlet, not at the switch. Confirm it is dead before putting a hand anywhere near the pit.
- Drain what you canLet the pit run down as far as the old pump will take it, then unplug. Anything left comes out with a bucket.
- Cut the discharge above the check valveHave the bucket underneath: the standing water in the pipe comes out here, and there is more of it than you expect.
- Lift the old pump outIt will be heavier and dirtier than anticipated. Set it on something you do not mind ruining.
- Clean the pitScoop out the sludge and gravel in the bottom. This is the only time it is easy, and the debris that is in there now is what would be going through the new impeller.
- Fit the discharge adapter to the new pumpPTFE tape on the threads, hand tight plus a modest amount with pliers. Do not overtighten into a plastic housing.
- Fit the new check valve with couplings both sidesDirection arrow pointing away from the pump. Check it twice; backwards is a common and completely silent mistake until you test.
- Set the pump level and clear of the wallsOn the pit floor or on a brick if the bottom is silted, with the float free to travel without touching the basin, the pipe or the pump body.
- Connect, plug in and testFill with a bucket until the pump starts. Confirm it runs, confirm it stops, and confirm it does not immediately restart. Then do it again.
Zoeller M53 Mighty-Mate
Cast iron, well documented, and the model most likely to be in stock locally today.

#ad we earn a commission · Amazon shows the current price
| Type | Submersible, cast iron |
|---|---|
| Horsepower | 3/10 HP (sold as 1/3 HP) |
| Electrical | 115 V, 9.7 A, 60 Hz |
| Discharge | 1-1/2" NPT vertical female |
| Switch | Integral vertical float, on at 7-1/4", off at 3" |
| Solids handling | 1/2" |
| Shut-off head | 19.25 ft |
| Flow, by lift | 2,580 GPH at 0 ft · 2,040 GPH at 10 ft |
| Warranty | Three years |
Check the discharge thread size against your existing pipe before you leave the store.
What it gets right
- Available everywhere
- Published flow curve
- Cast iron
Where it falls short
- Heavy to lower in
- Needs float swing room
Specifications from Zoeller M53 (53-0001) specification sheet.
Campbell spring-loaded silent check valve
Always replace the valve with the pump — it is as old as the one that just failed.
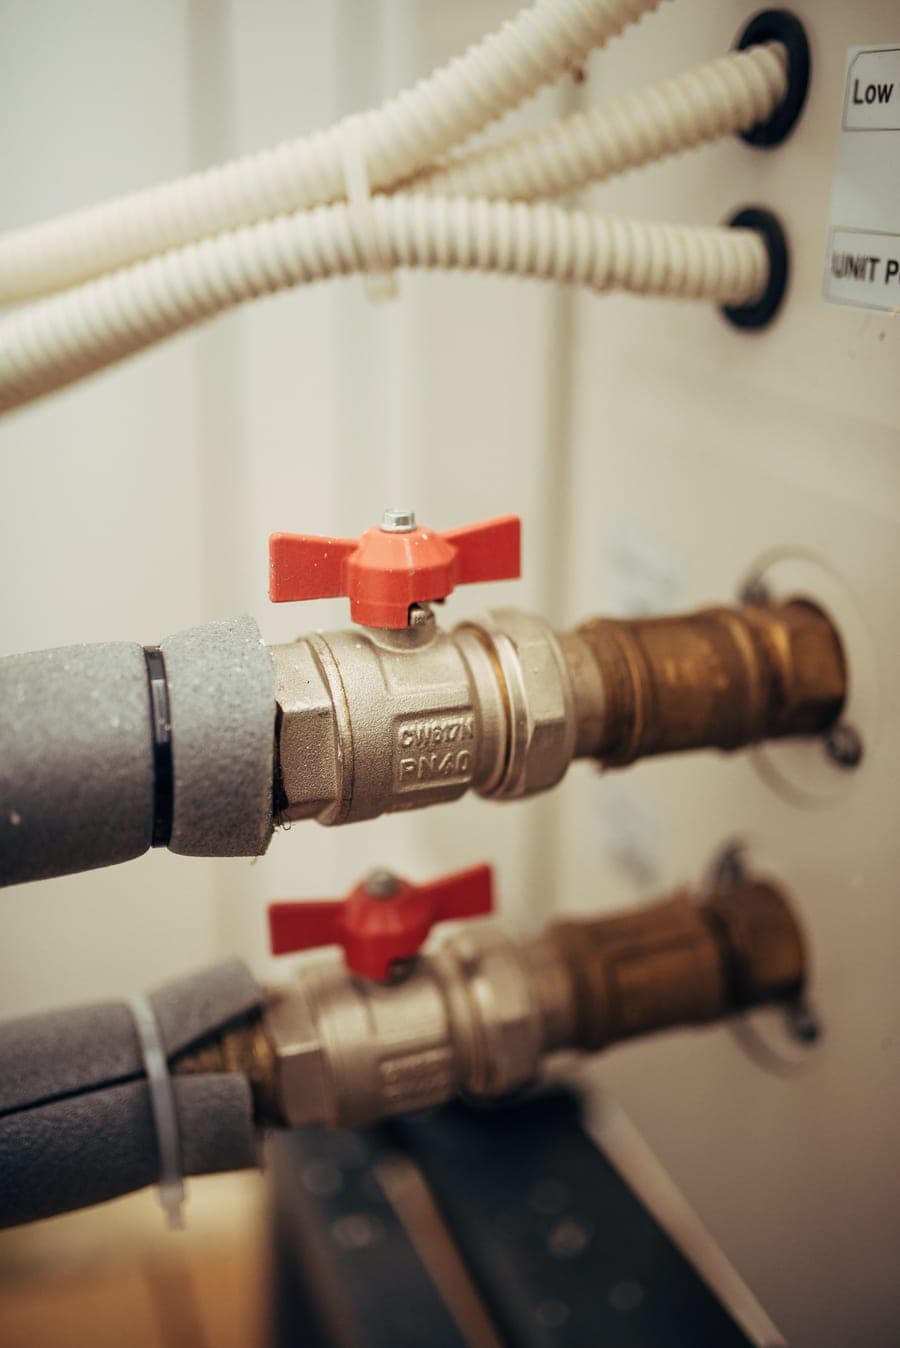
#ad we earn a commission · Amazon shows the current price
| Type | Spring-assisted silent check valve |
|---|---|
| Why it is quiet | The spring closes the gate before the column of water reverses, so there is no slam |
Buy rubber couplings at the same time. They turn every future valve change into a screwdriver job.
What it gets right
- Removes the shutoff bang
- Cheap
- Fit it with unions and the next swap is trivial
Where it falls short
- Slight flow restriction
Specifications from Amazon listing (search).
The three details that get missed
- Float clearance. More failed installations come from a float touching the basin wall than from anything else. Watch a full cycle before you walk away.
- The weep hole. Most pumps need a small hole in the discharge pipe just above the pump to prevent airlock. If the old pipe had one, make sure the new arrangement still does.
- Unions on the check valve. Thirty seconds of extra thought now saves a hacksaw and a wet floor in three years.
Questions people ask
Can I replace a sump pump myself?
A like-for-like swap in an accessible pit is realistic for a competent DIYer with a hacksaw and a couple of hours. New electrical work or a new pit is not.
How long does it take to replace a sump pump?
Around two hours for a straightforward replacement including cleaning the pit and fitting a new check valve. Allow longer the first time.
Do I need to replace the discharge pipe?
Not if it is sound and correctly sized. Do replace the check valve, and consider adding unions so the next service is easier.
What is the weep hole for?
It lets trapped air escape so the pump does not airlock. A small hole in the discharge pipe just above the pump, below the check valve, is the standard arrangement.
Sources
Read next

What size sump pump do I need?
Two measurements and ten minutes give you a real answer. Almost everyone skips both and buys on horsepower instead.
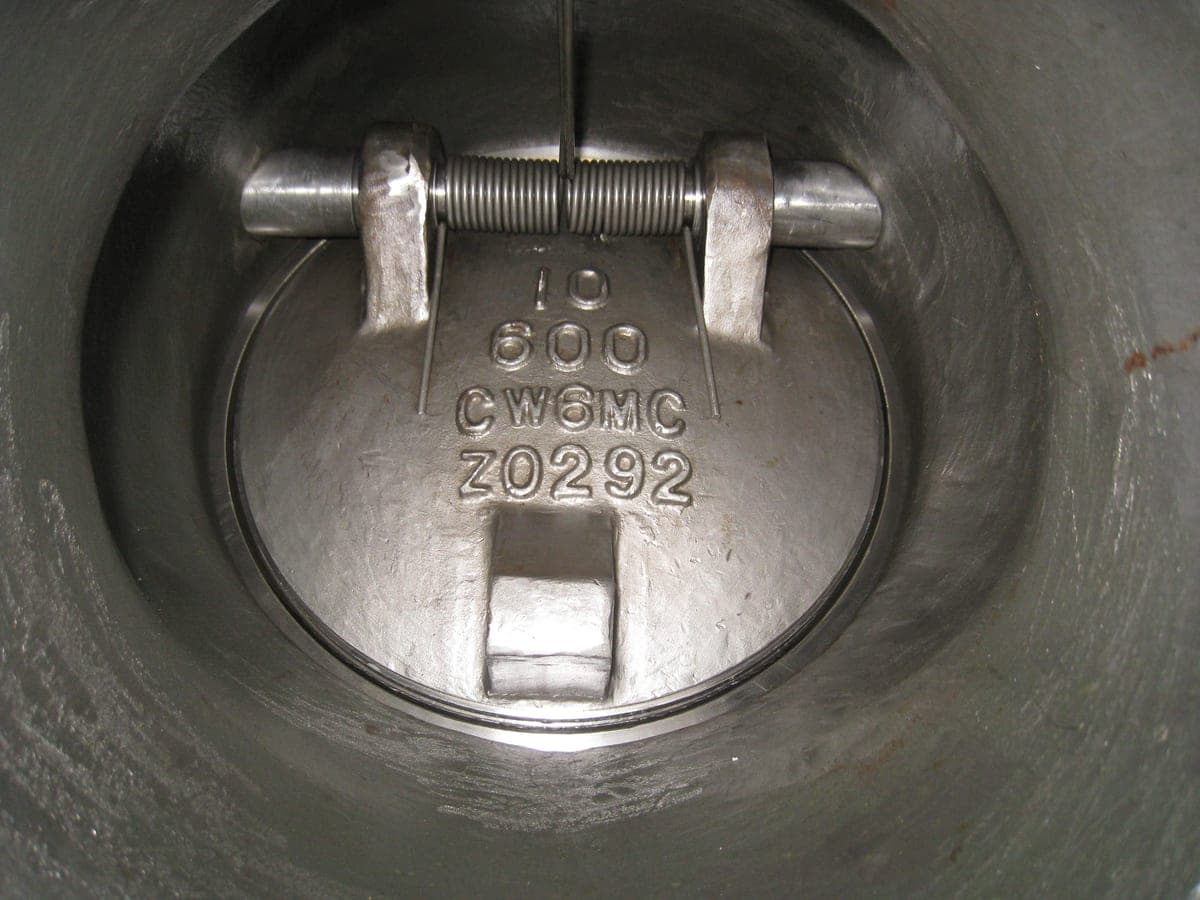
The best sump pump check valves
A forty-dollar valve is the single most common reason a healthy pump appears to be failing. It is also the easiest thing in the pit to replace.
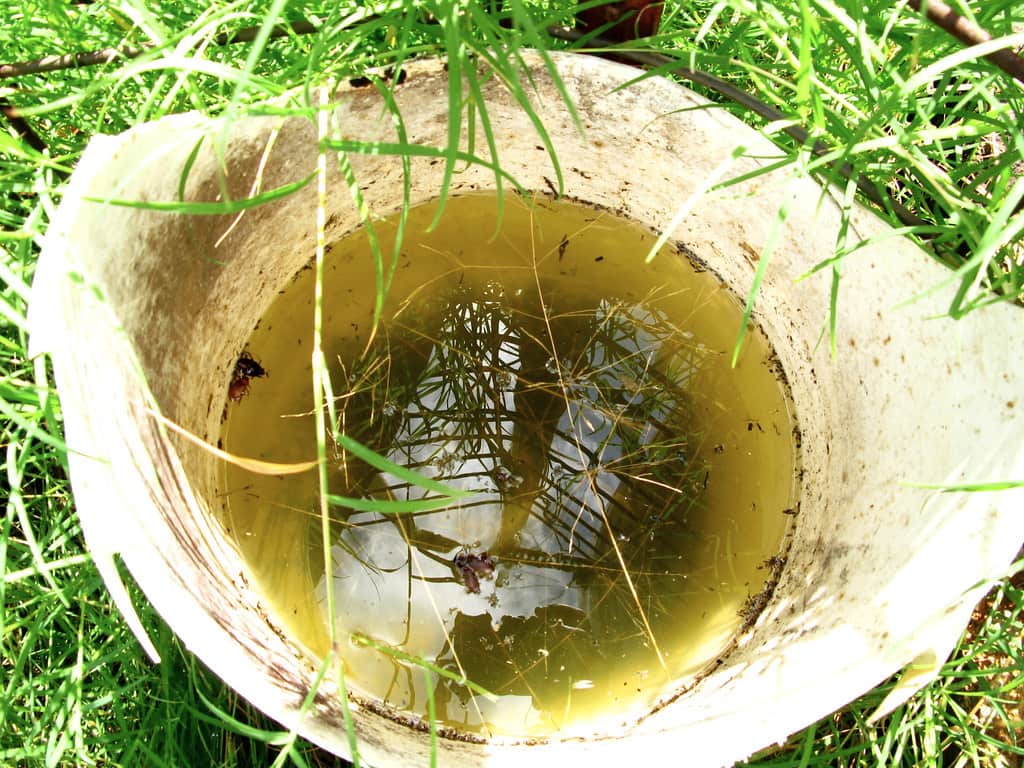
How to test a sump pump
Five minutes, four times a year. The half of the test most people skip is confirming that the pump stops.

What size should a sump pit be?
The hole constrains everything that goes in it. Pit dimensions rule out more pumps than horsepower ever will.
The best sump pumps, ranked by what they move at real lift
Five pumps that cover almost every residential pit, compared on the number that matters: how much water they move at the height your basement actually needs.