How to install a battery backup sump pump
A weekend job with one awkward decision in the middle: whether the backup gets its own discharge or shares the primary's.

Installing a battery backup sump pump takes two to four hours and needs no electrical work beyond plugging the charger into an outlet. The pump goes into the same basin as the primary, mounted higher so it only engages when the primary has lost ground; it needs its own check valve, and it either tees into the primary's discharge above both check valves or runs its own pipe out through the wall. Measure the basin first: most 12 V backups need at least 14 inches of internal diameter.
Below is the sequence, the one decision worth thinking about, and the mistakes that cause most call-backs.
Before you start: three measurements
- Basin internal diameter. Under about 14 inches and a second pump will not fit; the answer there is a water-powered backup mounted above the pit.
- Total lift, from the basin floor to the highest point of the discharge. This is the figure you compare against the backup's published flow curve, not its headline capacity.
- Inflow during the worst hour you have seen. If that exceeds what the backup delivers at your lift, the backup will slow the flood rather than stop it, and you need a bigger one.
The one real decision: shared or separate discharge
| Tee into the primary discharge | Separate discharge pipe | |
|---|---|---|
| Work involved | One tee and a second check valve | A new hole through the wall and a new pipe run |
| Risk | A blockage in the shared pipe defeats both pumps | Independent paths, so one failure does not stop the other |
| Freezing | Shared risk — one frozen line stops everything | Two lines to keep clear, but a single freeze is survivable |
| Cost | Lower | Higher |
| Best for | Most retrofits | Finished basements and high-consequence installs |
Most retrofits tee in, and that is a reasonable choice. Just be clear about what you are accepting: the shared pipe becomes a single point of failure for both pumps, which is exactly the thing a backup exists to avoid. In a finished basement, the separate run is worth the extra afternoon.
- Measure the basin and plan the positionsConfirm the internal diameter gives both pumps room without the floats touching each other, the walls or the pipework. Decide where the backup's float will sit — above the primary's on point, so the backup only runs when the primary is losing or dead.
- Mount the controller and the battery boxPut them on the wall above any conceivable water line, within reach of the pump's cable, and near an outlet for the charger. The battery box should sit on a shelf or blocks rather than directly on a slab that may get wet.
- Fit the backup pump in the basinSet it higher than the primary, on a brick or the manufacturer's bracket if one is supplied, so silt in the basin floor does not reach its intake. Check the float's full travel by hand before anything is plumbed.
- Plumb the backup's discharge and its own check valveEach pump needs its own check valve, close to the pump, before any shared pipework. Without that, the running pump pushes water backwards down the idle pump's pipe instead of out of the house.
- Join to the primary discharge above both check valves, or run a separate lineIf teeing in, make the connection above both check valves. If running separately, pitch the new line continuously downhill outside and keep both outlets several feet clear of the foundation.
- Connect the battery and the chargerObserve polarity, keep the terminals clean, and tighten properly — a loose terminal is the most common cause of a system that reports a fault on day one. Plug the charger into a standard outlet and let it bring the battery up before testing.
- Test the backup the hard wayUnplug the primary pump, pour water into the basin, and watch the backup take over and clear it. Confirm water actually leaves the discharge outside, not just that the pump runs. Then plug the primary back in and test the handover again.
- Label it, and diarise itWrite the install date and the battery type on the battery box with a marker. Batteries in this duty last roughly three to five years, and that label is what stops it becoming an unknown.
Wayne ESP25N battery backup system
A 12 V backup with flow published at four lifts, an alarm on the battery case and a cast-iron base.
#ad we earn a commission · Amazon shows the current price
| Type | 12 V DC battery backup pump |
|---|---|
| Housing | Epoxy-coated steel with a cast-iron base |
| Impeller | Corrosion-resistant thermoplastic |
| Discharge | 1-1/2" NPT |
| Battery | One Group 27 deep-cycle battery, sold separately |
| Minimum basin | 14 in diameter |
| Monitoring | LED display and audible alarm on the battery case |
| Flow, by lift | 2,900 GPH at 0 ft · 2,340 GPH at 5 ft · 1,680 GPH at 10 ft · 600 GPH at 15 ft |
| Warranty | Two years |
This is the easiest of the common backups to install because everything about it is standard: a 1-1/2 in NPT discharge, an ordinary check valve, and a controller that mounts on the wall beside the battery box.
Size it before you buy by comparing the published figure at your lift to your own inflow. At ten feet it moves 1,680 GPH, which is the number to check against — not the zero-lift headline.
What it gets right
- Flow published at 0, 5, 10 and 15 ft, so you can size it honestly
- Epoxy-coated steel with a cast-iron base
- Standard 1-1/2 in NPT discharge, so the fittings are ordinary
- LED display and audible alarm on the battery case
Where it falls short
- Group 27 battery sold separately
- Needs a basin at least 14 in across
Specifications from Wayne ESP25N specification listing, Wayne ESP25 product listing.
Zoeller AquaNot 508 battery backup system
A self-testing backup that reports power loss, high water and a blocked switch rather than waiting to be checked.
#ad we earn a commission · Amazon shows the current price
| Type | 12 V DC battery backup pump, self-testing |
|---|---|
| Monitoring | Alerts on power outage, high water and switch obstruction |
| Run time | Up to about 6 hours of continuous pumping |
| Battery | 12 V deep-cycle, sold separately on most SKUs |
| Flow, by lift | 2,340 GPH at 5 ft · 1,800 GPH at 10 ft |
| Warranty | Three years, limited |
The argument for self-testing is about the install, not the storm: once the pipework is in the ceiling and the controller is on the wall, you are unlikely to look at it again for a year. A system that checks itself covers the gap your good intentions will leave.
What it gets right
- Self-testing, so a fault surfaces months before the storm
- Distinct alerts for outage, high water and switch obstruction
- 1,800 GPH at 10 ft and 2,340 GPH at 5 ft, published
- Three-year limited warranty
Where it falls short
- Costs more than the Wayne
- Battery sold separately on most SKUs
Specifications from Zoeller AquaNot 508 battery backup listing, Zoeller 508-0006 AquaNot with M53 primary.
Universal Power Group UB121000 (12 V 100 Ah AGM)
A 12 V 100 Ah sealed AGM deep-cycle battery — Group 27/31 class capacity, maintenance free.
#ad we earn a commission · Amazon shows the current price
| Type | Sealed AGM deep-cycle, maintenance free |
|---|---|
| Nominal | 12 V, 100 Ah |
| Use | Group 27/31 class capacity for a 12 V backup pump controller |
Run time scales with amp-hours, and the battery is where most of a backup system's real-world performance lives. Buying the pump and skimping here is the most common way these installs disappoint.
What it gets right
- 100 Ah of reserve
- Sealed AGM, so nothing to top up in an unventilated corner
- Works with standard 12 V controllers
Where it falls short
- Heavy to carry downstairs
- Check your battery box dimensions first
Specifications from Amazon listing (search).
The four mistakes that cause most problems
- One check valve for two pumps. The running pump recirculates into the idle pump's line and the basin never empties. Each pump gets its own.
- Backup float set too low. It then shares the work with the primary, cycles constantly and flattens the battery over weeks instead of waiting for the emergency.
- Backup pump sitting on the basin floor. It ingests the silt that settles there and clogs long before it is needed.
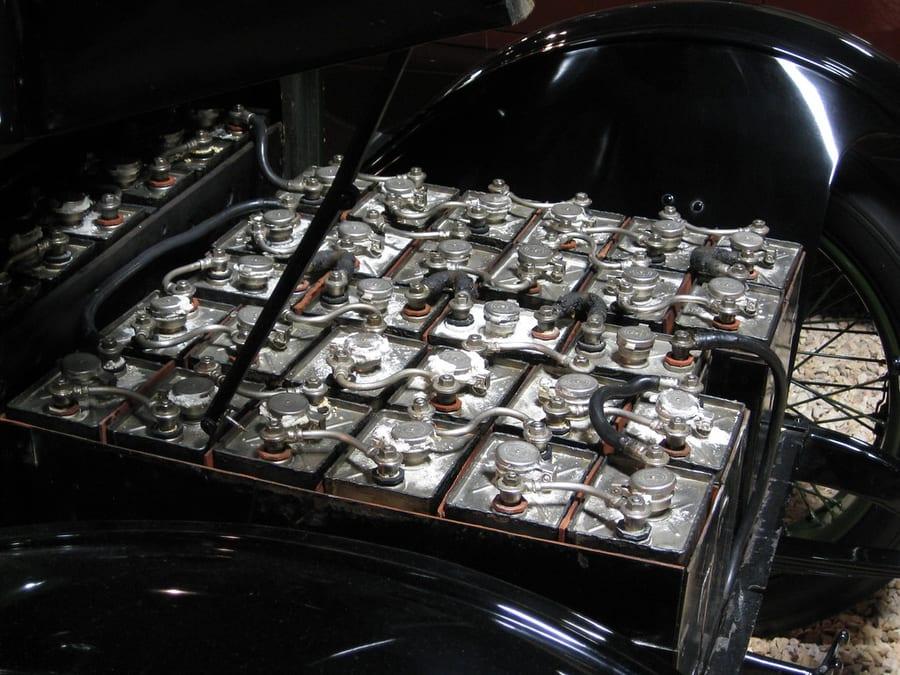
- Buying the system and not the battery. The run time is the battery's doing. A small standby cell on a good pump gives a short, disappointing outage. See the best sump pump batteries and how long a sump pump battery lasts.
Questions people ask
Can I install a battery backup sump pump myself?
Yes, in most cases. It is plumbing rather than electrical work: the backup pump goes in the existing basin, gets its own check valve, and the controller plugs into a standard outlet. Allow two to four hours, and call an electrician only if a new circuit is needed.
Does a backup sump pump need its own discharge pipe?
Not necessarily. Teeing into the primary's discharge above both check valves is the usual retrofit and works well, but it makes the shared pipe a single point of failure for both pumps. A separate line is the better choice over a finished basement.
How high should the backup pump sit in the basin?
Higher than the primary, with its float set above the primary's on point, so it only runs when the primary has failed or cannot keep up. Raising it on a brick or the supplied bracket also keeps its intake out of the silt.
Do I need two check valves?
Yes — one per pump, fitted close to each pump. With only one, the running pump pushes water back down the idle pump's pipe and the basin never clears.
What battery should I use for a backup sump pump?
A 12 V deep-cycle battery, and a sealed AGM if the basement is unventilated. Capacity in amp-hours is what sets the run time, so check the controller's manual for the maximum it will charge and buy toward that.
Sources
Read next

The best battery backup sump pumps
The storm that fills your pit is the storm that takes the power out. This is the half of the system that works when the other half cannot.

Do I need a battery backup sump pump?
The storms that fill your pit are the storms that take the power down. The question is what a few hours of no pumping would actually cost you.
The best batteries for a backup sump pump
Your backup system is only as good as the battery behind it, and the battery is the part everyone forgets until the night it matters.
Basement Watchdog vs Zoeller
One of these tells you when it is unwell. The other is cheaper and expects you to check. That is most of the comparison.
How to install a sump pump
A like-for-like replacement in an existing pit is a two-hour job. Cutting a new pit into a slab is not, and this page is honest about which is which.